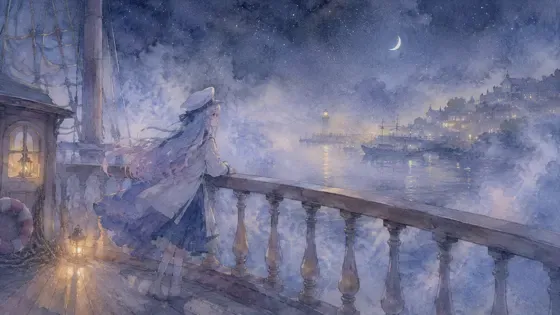
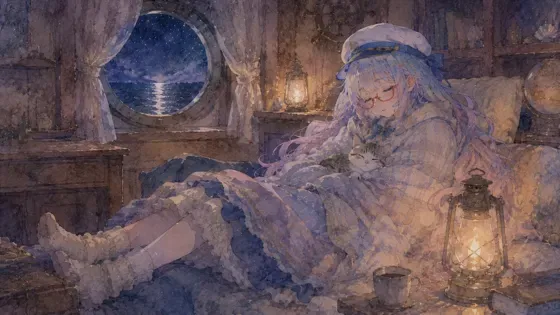
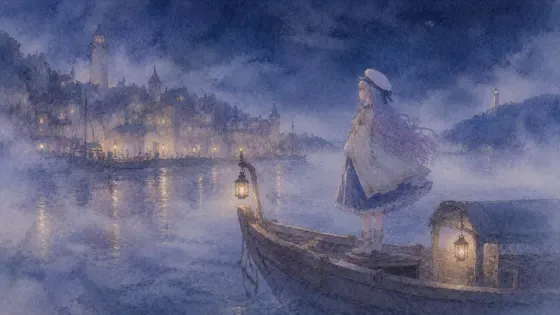
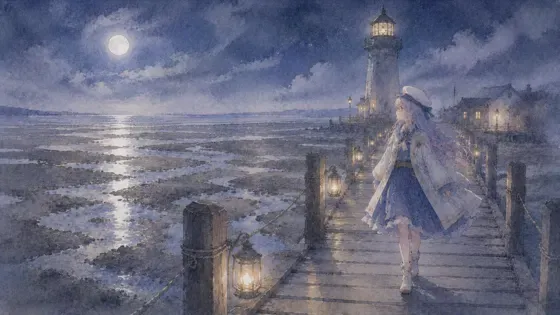
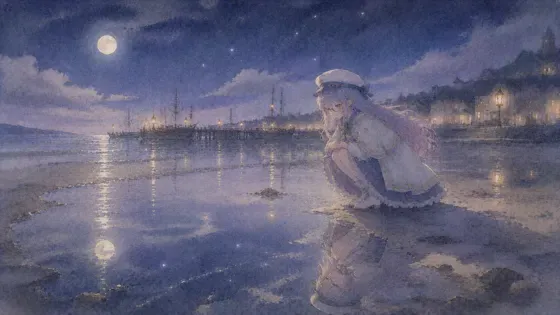
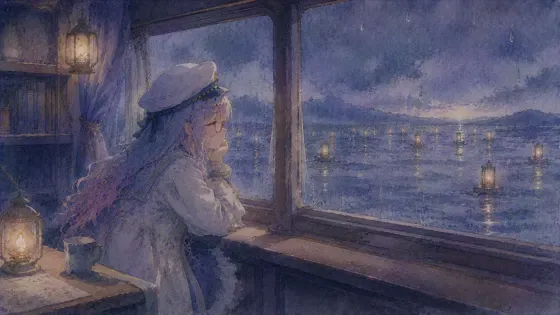
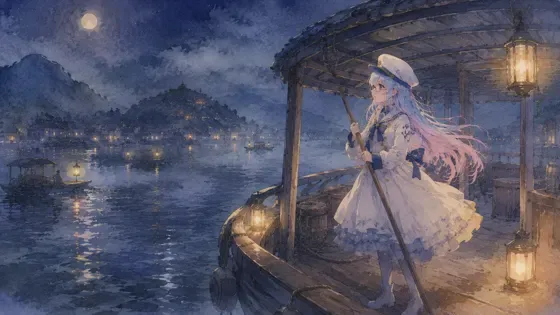
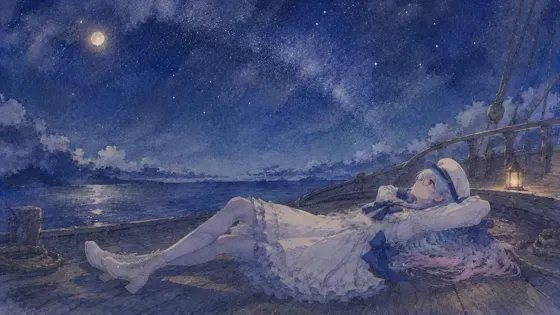
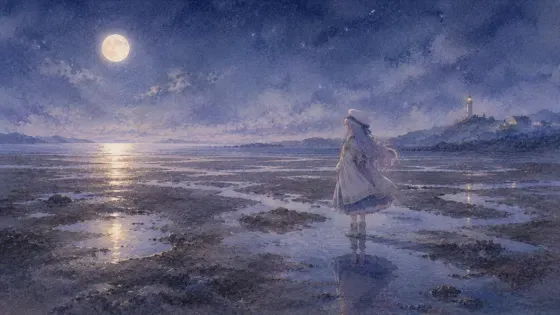
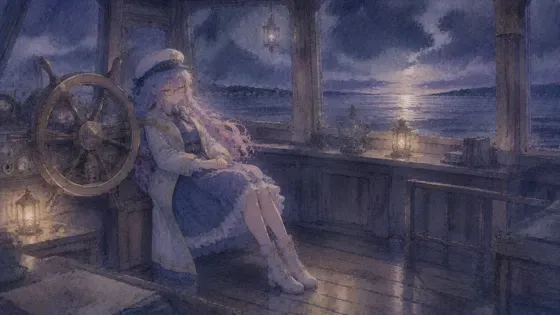
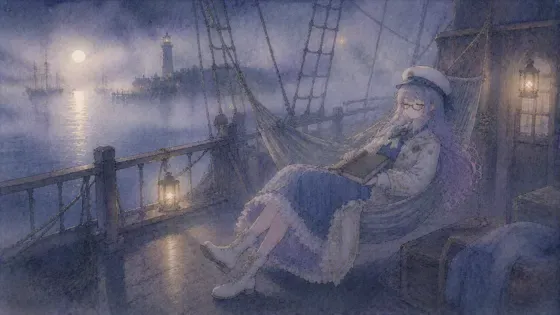
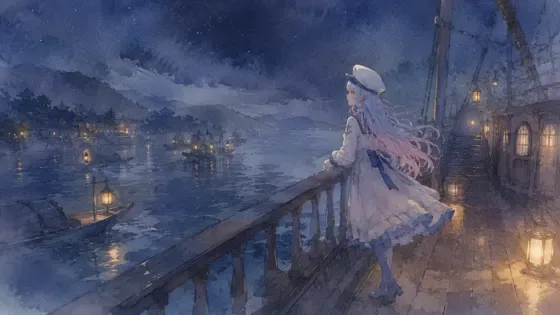
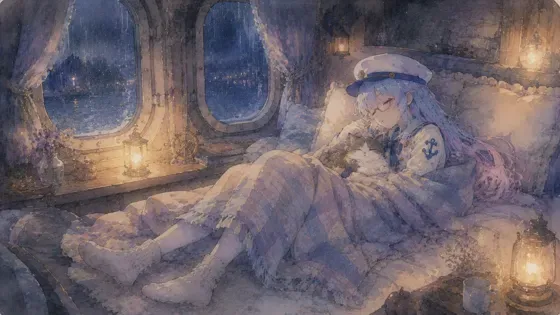
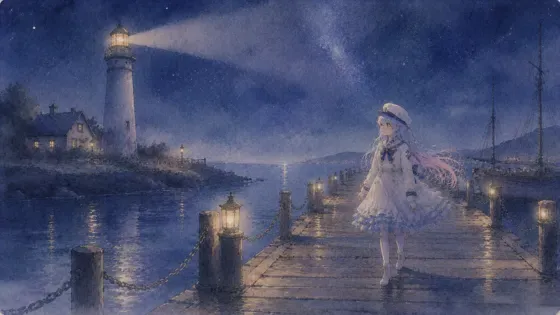
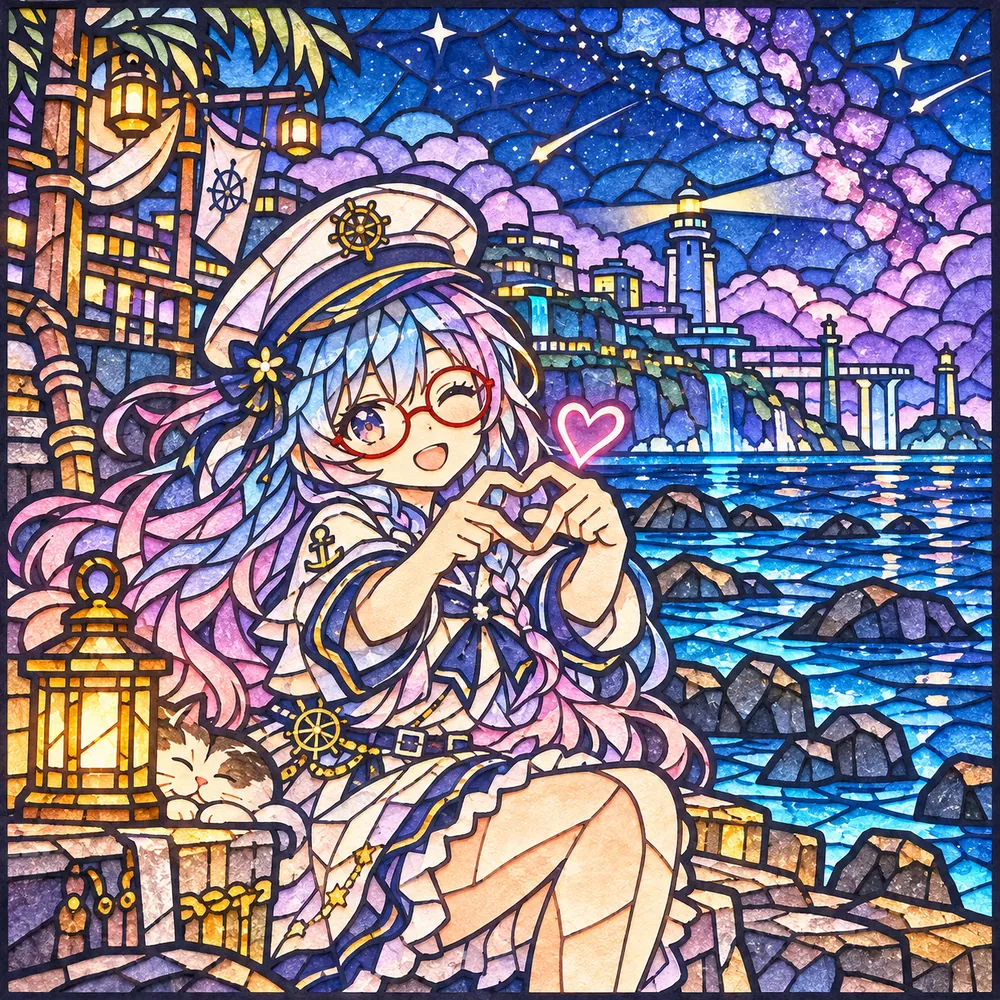
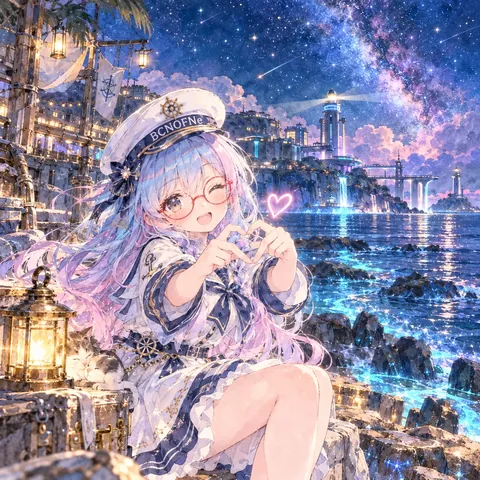
プロンプト
英語(English)
Redraw the attached picture in the style below, "Lantern Window Paper Cut" (paper cut × stained glass). This is a change of technique only: the picture stays the same picture, and only the way it is drawn and painted changes. Every section describes that one finished image.

[How to use the attached image]
Treat the attached image as the fixed layout. Copy its framing, camera height, horizon line, and the position and size of every person and object as they are. Then throw away its original paint, line work and surface texture, and rebuild everything — people, background, sky, small props — with the materials and marks described below. Apply the style to the whole frame evenly, not only to the background or only to the character.

[What must stay the same]
Same number of people and objects, each in the same place. For each person: the same face shape and features, expression, eye direction, hairstyle and hair color, clothing design and colors, accessories (glasses keep their shape and color), pose, hand positions, body proportions and head-to-body ratio. Same overall color relationships and the same time of day. Do not add, remove or move anything, and do not invent new characters, animals, props or background buildings.

[If nothing is attached]
If no image is attached, first set up a simple scene that suits the request (one subject, a clear place, a readable silhouette), then draw that scene entirely in this style, following every section below in the same way.

[Aspect ratio]
Use the attached image's aspect ratio and canvas. Without an attachment, use the ratio named in the request, or 3:2 landscape if none is given. Do not crop or extend the frame.

[Lines and edges]
Every outline is a cut edge, not a drawn line. Shapes are separated by a continuous lattice of dark cut paper about two to four millimeters wide in the scale of the picture, like the lead strips of a church window. The lattice follows the contours of faces, hair, clothing, waves and buildings, and it also crosses large areas to break them into window panes.

[Shapes and how the surface is built]
Build the picture from three to five stacked sheets of paper, cut through with a craft knife. The dark lattice sheet sits on top; behind each opening sits a piece of colored translucent paper — tracing paper, tissue or vellum — so every pane reads as a small window. Large areas such as sky or sea are divided into several panes of slightly different tones, never left as one flat sheet.

[Texture and material]
Clean, slightly crisp knife edges with tiny irregularities, a faint fiber texture inside each translucent pane, and a thin shadow line where the top sheet stands a few millimeters above the colored layer. The layered paper must be obvious: every sheet casts a clear, soft drop shadow of two to four millimeters onto the sheet behind it, so the edges of each opening show a visible step and the piece reads as stacked paper, not glass. Matte paper, no gloss, no glass reflections.

[Color]
Keep the hues of the attached image, but translate each area into the nearest jewel-like translucent paper color: richer and more saturated where light passes through, deeper at the edges of each pane. The lattice is a near-black deep navy rather than pure black.

[Light and shading]
Light comes from behind the paper, as if the piece is hung in a window or lit by a lamp at its back. Panes glow from the center outward; thinner layers glow brighter. Faces stay readable because their panes are pale and evenly backlit.

[Faces, hands and small details]
Cut the face as one pale pane with a few thin lattice lines for the eyes, brows, nose and mouth, matching the attached face's shape and expression. Hair becomes several panes following the hair flow. Glasses become a lattice frame with tinted panes in the original frame color. Hands are simplified to mitten-like shapes with one or two finger cuts.

[Finish]
Seen straight on, as a flat handmade paper lantern panel, photographed in even light so the whole sheet glows. Edges of the outermost sheet may show a small border of uncut paper. Seen up close, the cut edges, paper fibers and layer shadows make it unmistakably paper. The result must look like a finished piece made in this one technique from edge to edge, not a filter laid over the original.

[Do not mix in]
Do not draw the lattice with a pen or render real glass, metal or 3D bevels. Do not let panes fade into gradients like airbrush. No stray paper scraps outside the lattice. Do not mix in watercolor washes, blooms or paper-white bleeding, and do not blend in any other art style than the one described here. No readable text, letters, numbers, logos, watermarks or signatures unless they were already in the attached image.

[If instructions conflict]
First keep the layout and the people of the attached image, then apply this style's materials and marks fully, then match the color relationships, and only then work on fine detail. If keeping a detail exactly would break the style, simplify the detail in the style's own way rather than dropping the style.
日本語
添付画像を、下の画風「切り絵の光窓」(ペーパーカット×ステンドグラス)で描き直してください。変えるのは描き方だけで、絵そのものは同じ絵のままにします。どの段も、その 1 枚の完成した絵の話です。

【添付画像の使い方】
添付画像を動かせない下図として扱う。画角・カメラの高さ・地平線の位置、人物と物の位置と大きさをそのまま写す。そのうえで、元の塗り・線・表面の質感は全部捨て、人物・背景・空・小物のすべてを、下に書いた材料と手の跡で作り直す。画風は画面全体に同じ強さでかける。背景だけ、人物だけにかけない。

【変えない所】
人物と物の数、それぞれの位置は同じ。人物は、顔の形と目鼻立ち・表情・視線・髪型と髪の色・服のデザインと色・小物(メガネは形も色も保つ)・ポーズ・手の位置・体の比率と頭身を変えない。色どうしの関係と時間帯も同じ。何も足さず、消さず、動かさない。新しい人物・動物・小物・背景の建物を作らない。

【添付が無い時】
添付が無い時は、依頼に合う簡単な場面(主役 1 つ・場所がはっきり・形が読みやすい)を先に決め、その場面を最初から最後までこの画風で描く。下の段は同じように全部守る。

【比率】
添付画像の比率とキャンバスに合わせる。添付が無い時は依頼の比率、指定が無ければ横長 3:2。画面を切ったり広げたりしない。

【線と縁】
輪郭はすべて描いた線ではなく、切った縁。形と形のあいだは、教会の窓の鉛の枠のように、太さ 2〜4 mm ほどの暗い紙の格子でつながって区切られる。格子は顔・髪・服・波・建物の形に沿い、空や海の広い面も横切って窓の区画に分ける。

【形と面の作り方】
3〜5 枚の紙を重ね、カッターで切り抜いて作る。いちばん上が暗い格子の紙。その穴の裏に、トレーシングペーパー・薄葉紙・ヴェラムなど色の透ける紙を 1 枚ずつ当て、どの区画も小さな窓に見えるようにする。空や海は 1 枚の平らな紙で済まさず、少しずつ色の違う区画に割る。

【質感・素材】
すっきりした刃の切り口に小さなゆらぎ。透ける紙の中にかすかな繊維。上の紙が色の紙から数 mm 浮いとる所に細い影。紙の層ははっきり見せる:どの紙も後ろの紙に 2〜4 mm のやわらかい落ち影をはっきり落とし、穴の縁に段差が見えて、ガラスでなく重ねた紙に見えるようにする。紙はつや消しで、光沢やガラスの映り込みは無し。

【色】
添付画像の色合いは保ったまま、それぞれの所をいちばん近い宝石のような透ける紙の色に置き換える。光が抜ける真ん中は鮮やかに、区画の縁は少し深く。格子は真っ黒でなく、黒に近い深い紺。

【光と陰影】
窓に掛けたか、裏にランプを置いたように、紙の後ろから光が来る。区画は真ん中から外へ向かって光り、薄い所ほど明るい。顔の区画は淡く、むらなく裏から照らして読みやすくする。

【顔・手・細かい所】
顔は淡い 1 枚の区画にして、目・眉・鼻・口を細い格子数本で切り、添付の顔の形と表情に合わせる。髪は流れに沿った数枚の区画。メガネは元の色の格子の枠と色付きの区画。手はミトンのような形に、指の切れ目を 1〜2 本。

【仕上がり】
正面から見た、手作りの平らな紙の行灯の板。全体が光るよう、むらのない光で撮った写真の仕上がり。いちばん外側の紙の端に、切っていない紙の縁が少し見えてもよい。近くで見ると、切り口・紙の繊維・層の影で、紙だとはっきり分かること。端から端まで、この 1 つの技法で作った完成品に見えること。元の絵にフィルターを重ねただけに見えないこと。

【混ぜない物】
格子をペンで描かない。本物のガラス・金属・立体の面取りにしない。区画の中をエアブラシのようなグラデーションにしない。格子の外に紙くずを散らさない。水彩のにじみ・たまり・紙の白のぼかしは入れない。ここに書いた画風以外の画風を混ぜない。添付画像に元からある物を除き、読める文字・数字・ロゴ・透かし・署名を入れない。

【指示がぶつかった時】
まず添付画像の配置と人物を守る。次にこの画風の材料と手の跡を全体にしっかりかける。次に色の関係を合わせ、細部は最後。細部を正確に残すと画風が崩れる時は、画風を捨てずに、その画風のやり方で細部を省略する。
ほかの呼び方:ペーパーカット×ステンドグラス・ペーパーカットとステンドグラス・切り絵ステンドグラス・光る切り絵・光窓
プロンプトは、ご自分の画像生成にご自由にお使いください(商用も可)。使う時に「BCNOFNe」の名前を添えてもらえると嬉しいです(任意)。見本の画像の転載・再配布はご遠慮ください。使われ方を知るため、押されたボタンや開かれたページの回数(番号・言語・混ぜた画風の組み合わせ)を、Cloudflare のサービスを使った当サイトの集計用サーバーで数えています。入れた文字は送りません。Cookie や端末の識別子は使いません。サイト全体のアクセス数を見るため、Cloudflare Web Analytics(Cookie なし)も使っています。通信や記録の扱いは、Cloudflare, Inc. のプライバシーポリシーに従います。